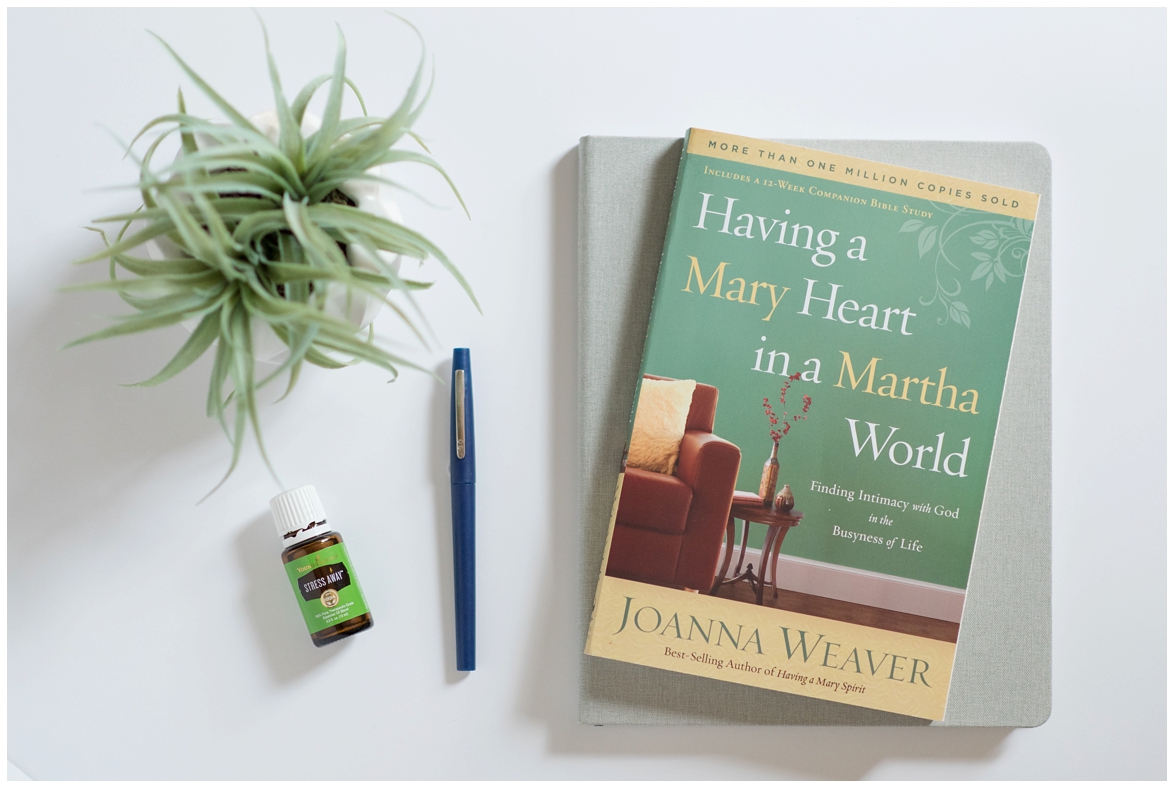
When it comes to flat lay photography, it tends to look like it would be much easier than it really is! Trying to get a variety of height levels, putting all of your props in the perfect location, getting good light, and getting round items to stay put are much harder than you’d think! Today I’m going to share two tips with you to make your flat lay photography process so much easier.
With these simple fixes, you’ll be able to manage your shadows & get a beautiful light, bright look to your images, AND you’ll be able to wrangle those tricky round objects, no problem!
Fighting Shadows
To fight shadows, you’ll first want to be sure you have your set up near a good, bright light source like a large window or open door (without placing it directly in the incoming light). In the image on the left, there was a large bright patch on the carpet/tile where the sun was coming directly through the window of our back door. I set the foam board just outside of the direct sun rays to get the most light without having distracting super-bright highlights.
Next, you’ll use a simple reflector to bounce the light back into the shadows on your flat lay. You can use another white foam board, an actual photography reflector, a large white pillow, a sheet – anything! In fact, during a recent brand photography session in a coffee shop, we ended up using my client’s white jeans from her wardrobe options as a reflector!

You can see in the images below the difference the reflector makes! These images were taken with the exact same camera settings & edited in the exact same way – the only reason the shadows on the right are much lighter/softer is because I brought the white foam board just outside of the frame to the left. The larger/closer you can get the reflector, the more impact it will have on the shadows. You can also test holding it at various angles to see what gives you the best result!

Managing Round Props
I can’t begin to tell you how much time I used to waste trying to set up (and re-set up…. and re-set up…) round props. I would try over & over again to get them to settle into just the right position, only to have them keep rolling! Then I finally thought of the EASIEST fix! Simply use the tiny little clear hair elastics to place your item on top. In the image below, you can see I used one for the essential oil bottle, and one for the pen. Just keep in mind you want to be sure the item is big enough to cover the elastic so you don’t see it in the final image. So simple! Once the elastic is in place, you can position the item exactly how you want it & it will stay put!

I hope these two easy tricks make your flat lay photos better AND easier! For more tips, just click below:
